Group policy
Categories:
Purpose: This document explains the purpose of a group policy in Verily Workbench and how to apply one to a workspace or data collection.
Introduction
What is a group policy?
A group policy limits the eligible access of workspace and data sharing to members of all selected groups. A group policy does not grant access, but can be used as an additional layer of access control. Like other policy types, a group policy can’t be removed once it’s been applied, and carries over to any duplicates.
A "group" in a group policy can include Workbench groups, pods, or organizations.
Why apply a group policy?
A group policy will help you limit sharing of your workspace or data collection, ensuring that only approved users have access.
What restrictions does a group policy enforce?
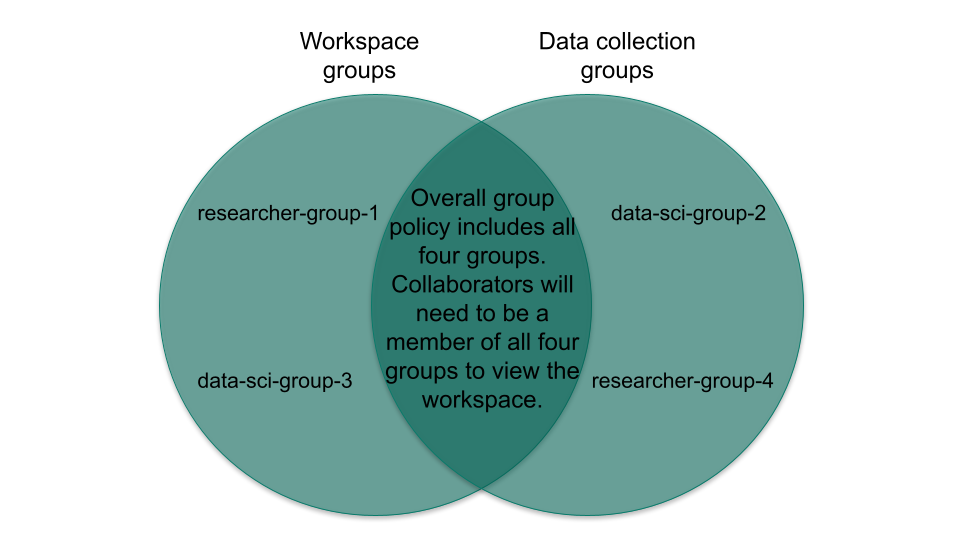
If a group policy is applied to a workspace or data collection, a user must be a member of all groups specified in the group policy to view and/or edit it.
Getting started
Apply a group policy to a new workspace or data collection
In the Workbench UI, create a new workspace or data collection.
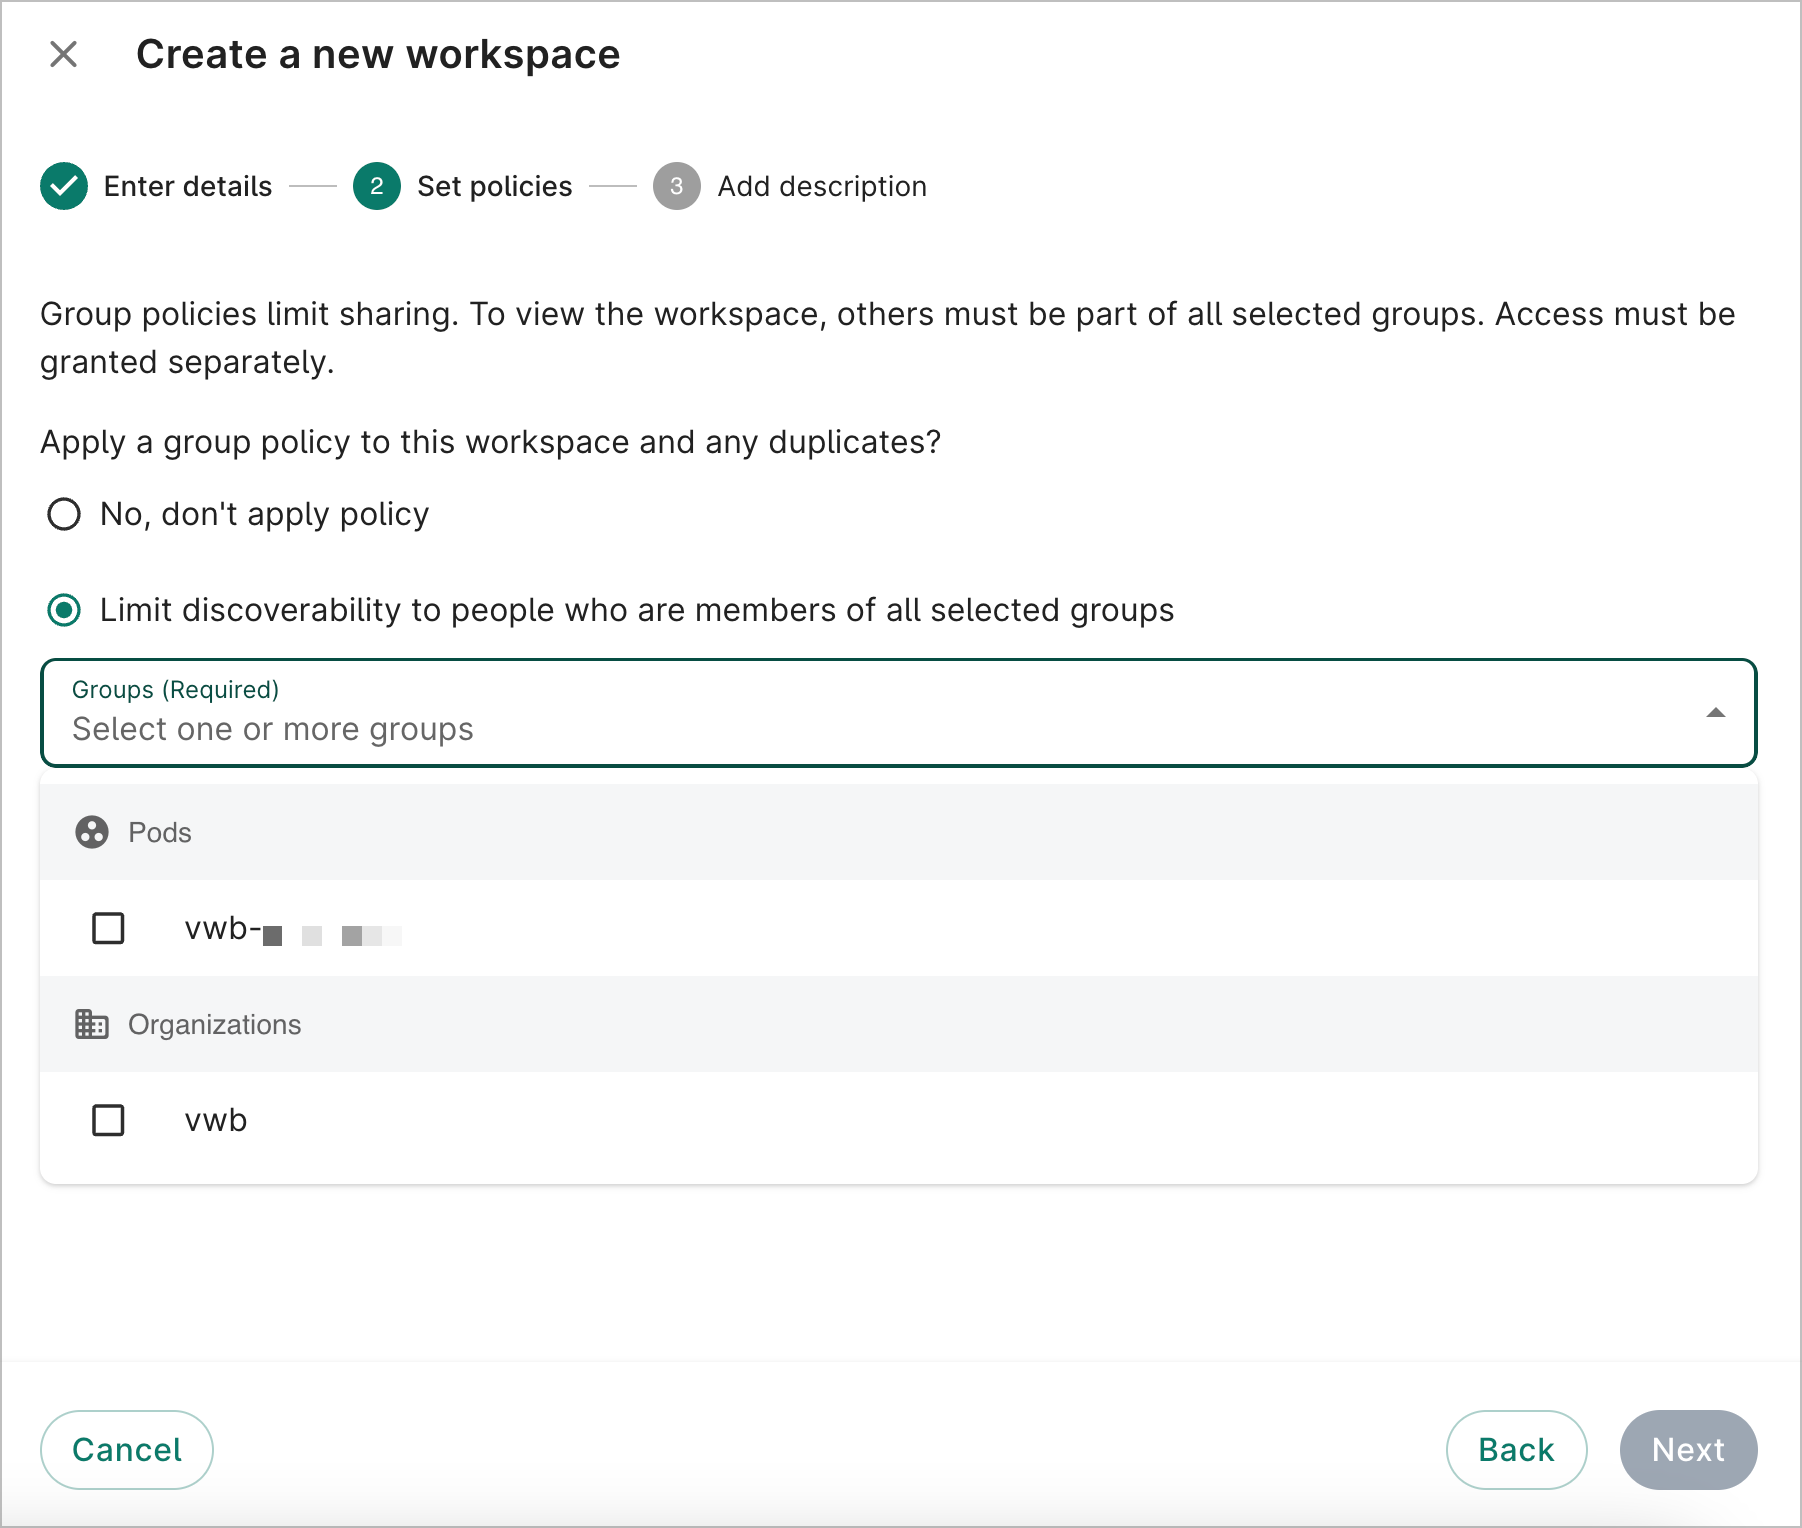
You'll be able to add a group policy in the Set policies step. Select Limit discoverability to people who are members of all selected groups. Click on the Groups dropdown to see the group(s) you can add to the group policy.
To confirm the members of the group(s) you want to add, run the wb group list-users CLI command. If you need to create a new group, see Creating and managing groups for details.
Select the group(s) you'd like to add to the group policy and proceed to the last step to create your workspace or data collection.
Apply a group policy to an existing workspace or data collection
Click the Edit button in the upper right corner of your workspace or data collection in the Workbench UI.
In the Edit dialog, click on the Groups dropdown to add groups to the group policy. Click Update to save your changes.
Be aware
Applying a group policy to an existing workspace or data collection could result in some users losing access if they're not a member of the selected group(s). Note that you won't be able to remove the policy once it's applied.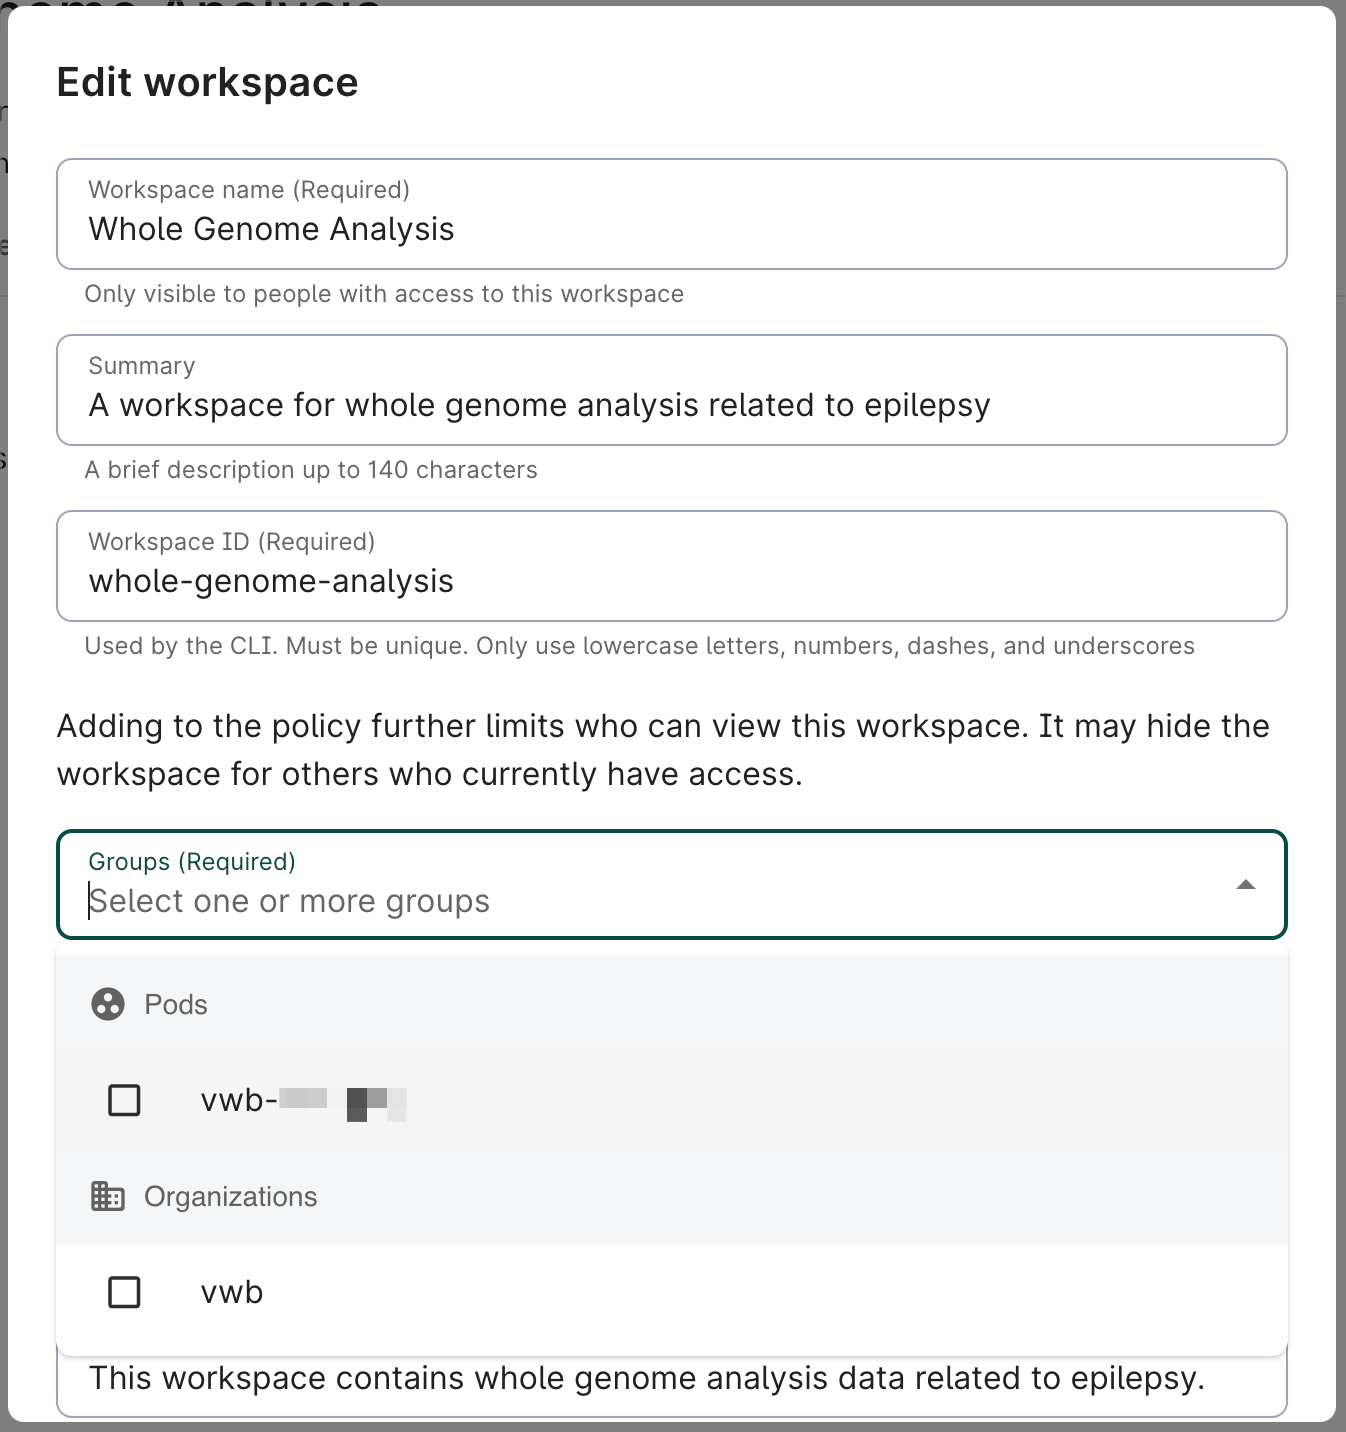
View your group policy
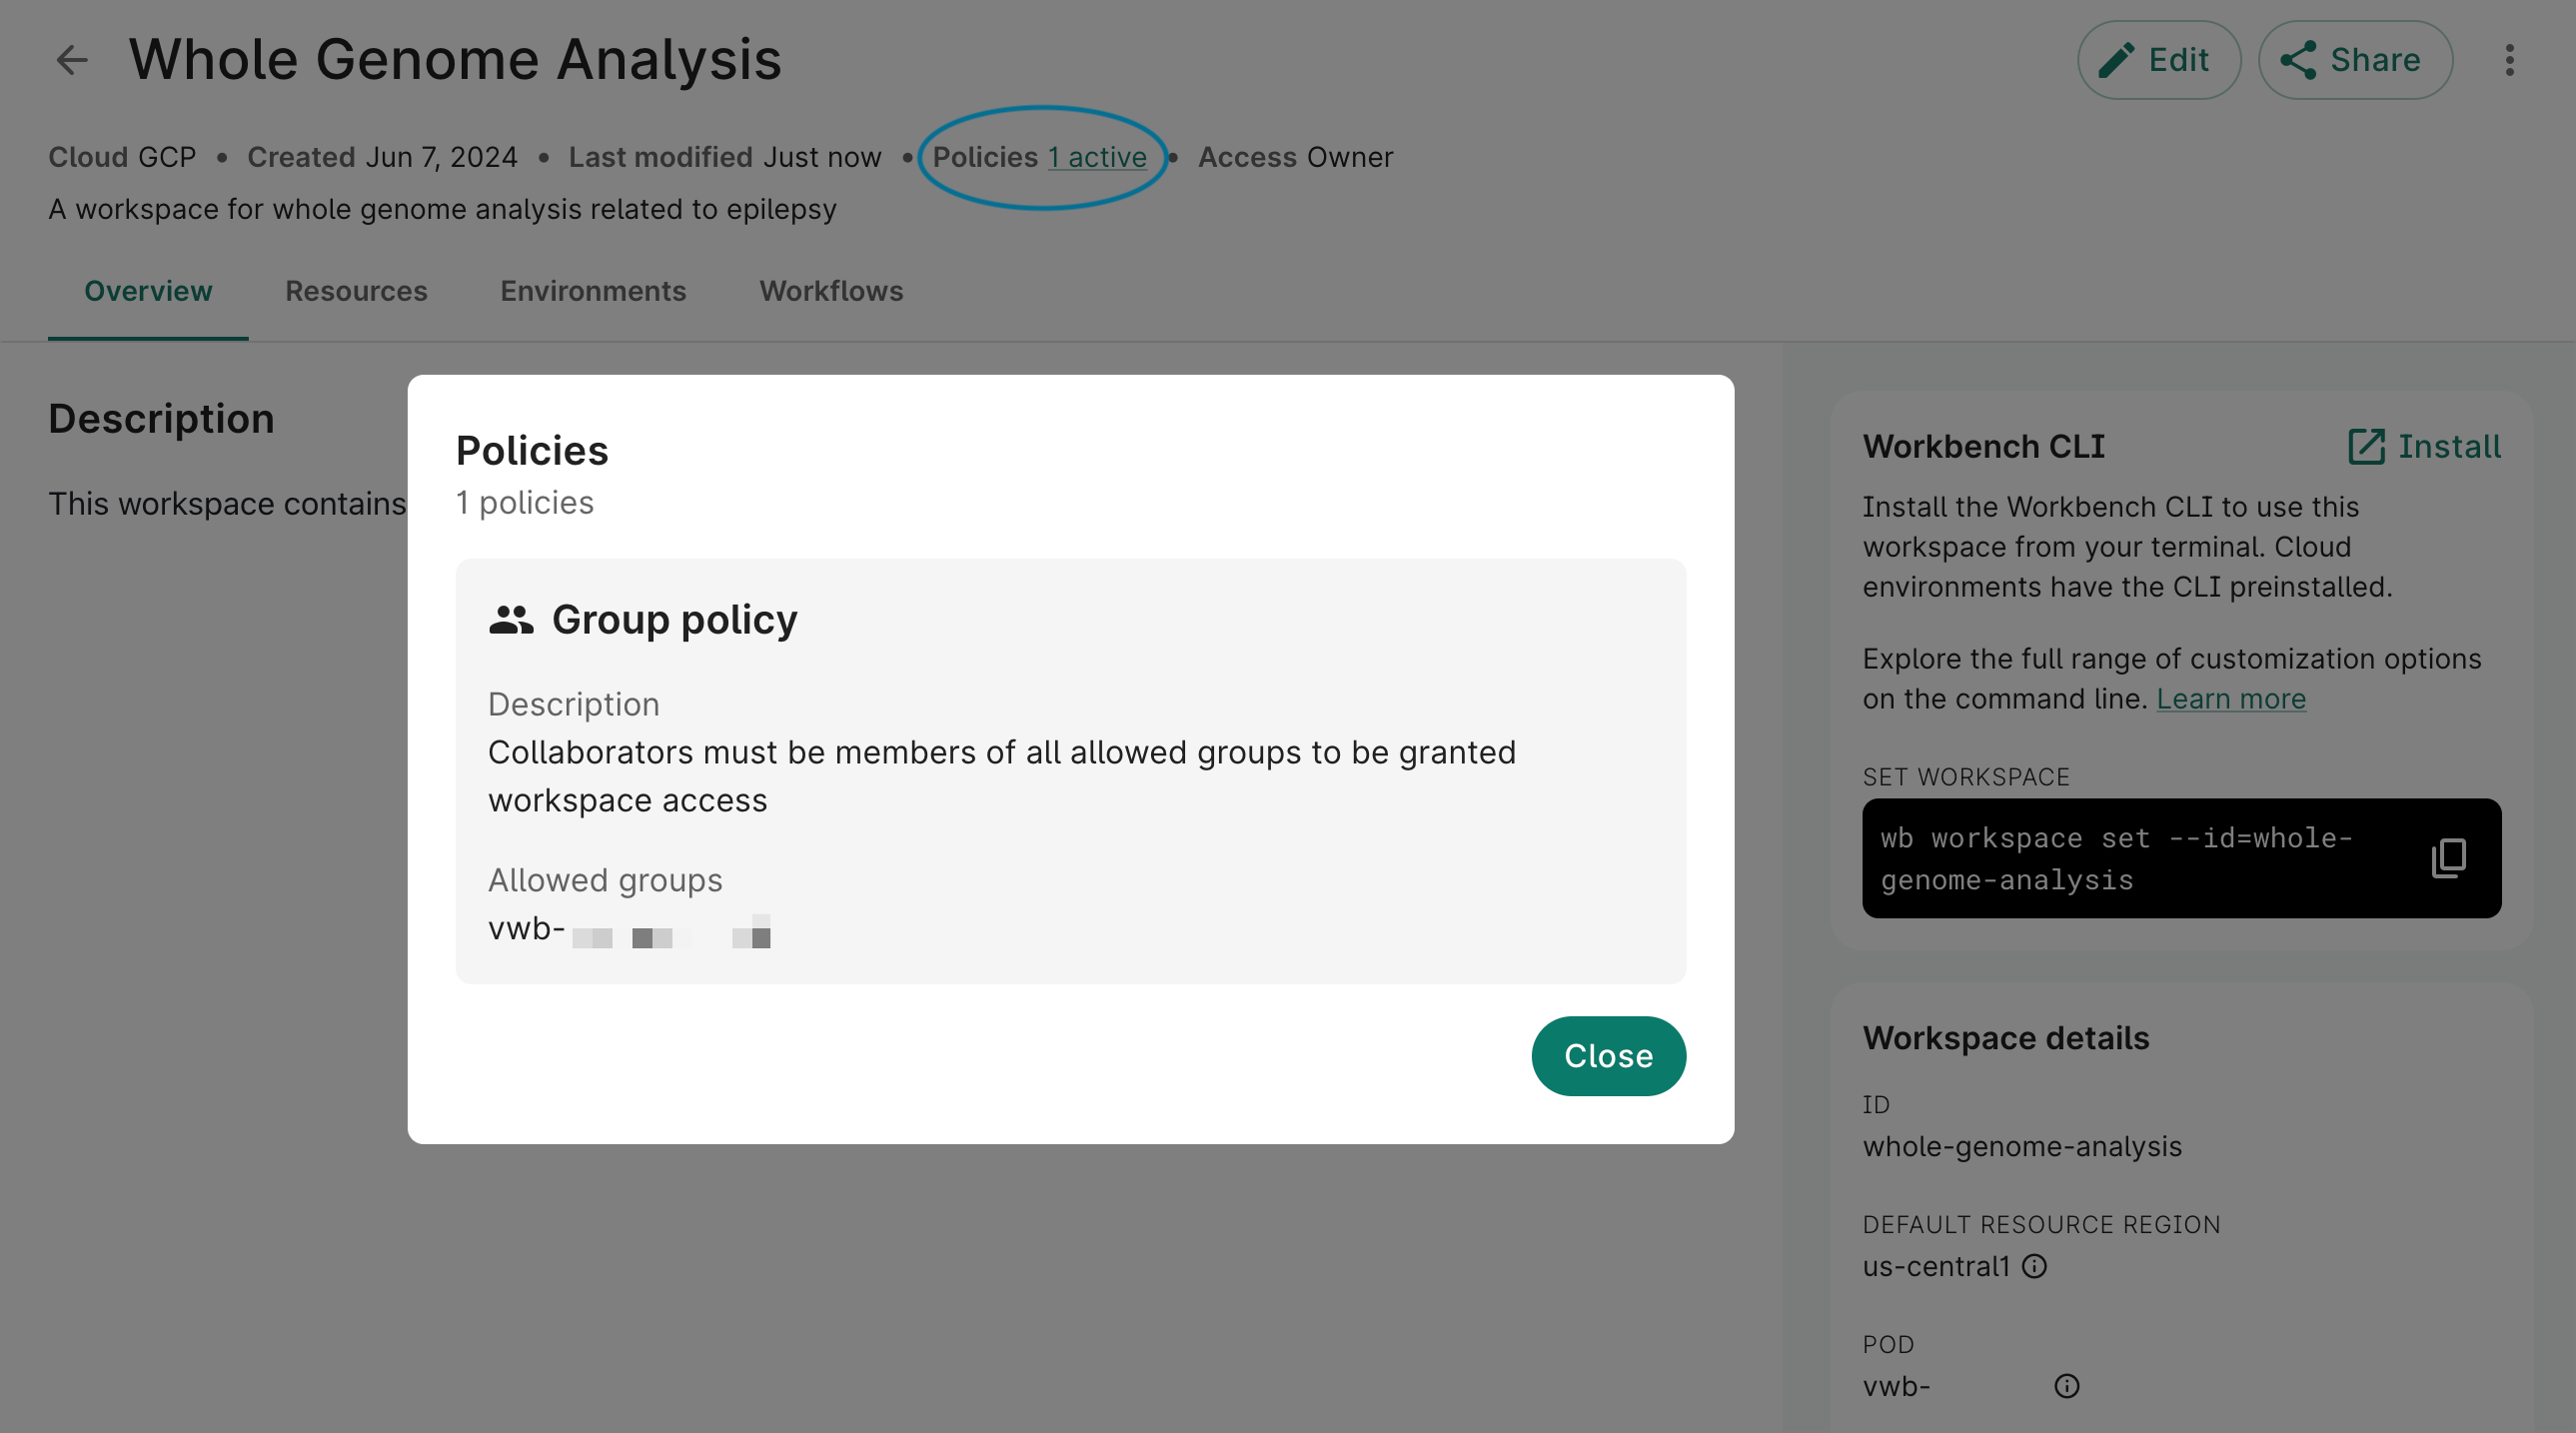
You can confirm the policy has been successfully applied by clicking the "active" link next to Policies. A dialog will open showing the allowed group(s).
Expected behavior
If you duplicate a workspace or data collection, the duplicate will inherit any policies applied to the original.
You can't remove a group policy once it's been applied to a workspace or data collection. However, group admins can add and remove people from groups at any time.
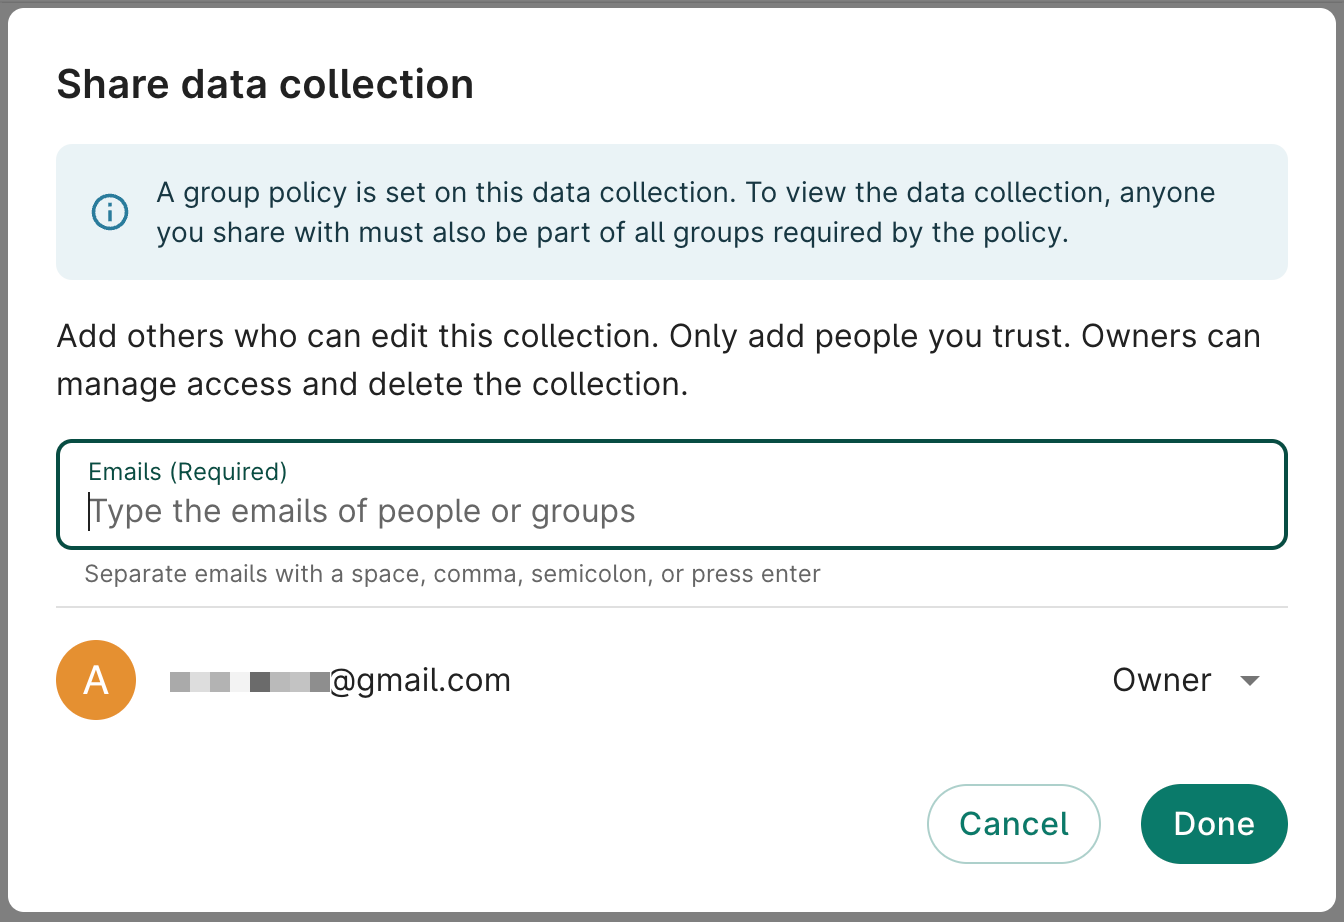
If you share a workspace or data collection with a group policy applied, the user you're sharing to must be in the selected group(s). Otherwise, they won't be able to view it.

Last Modified: 10 December 2024